
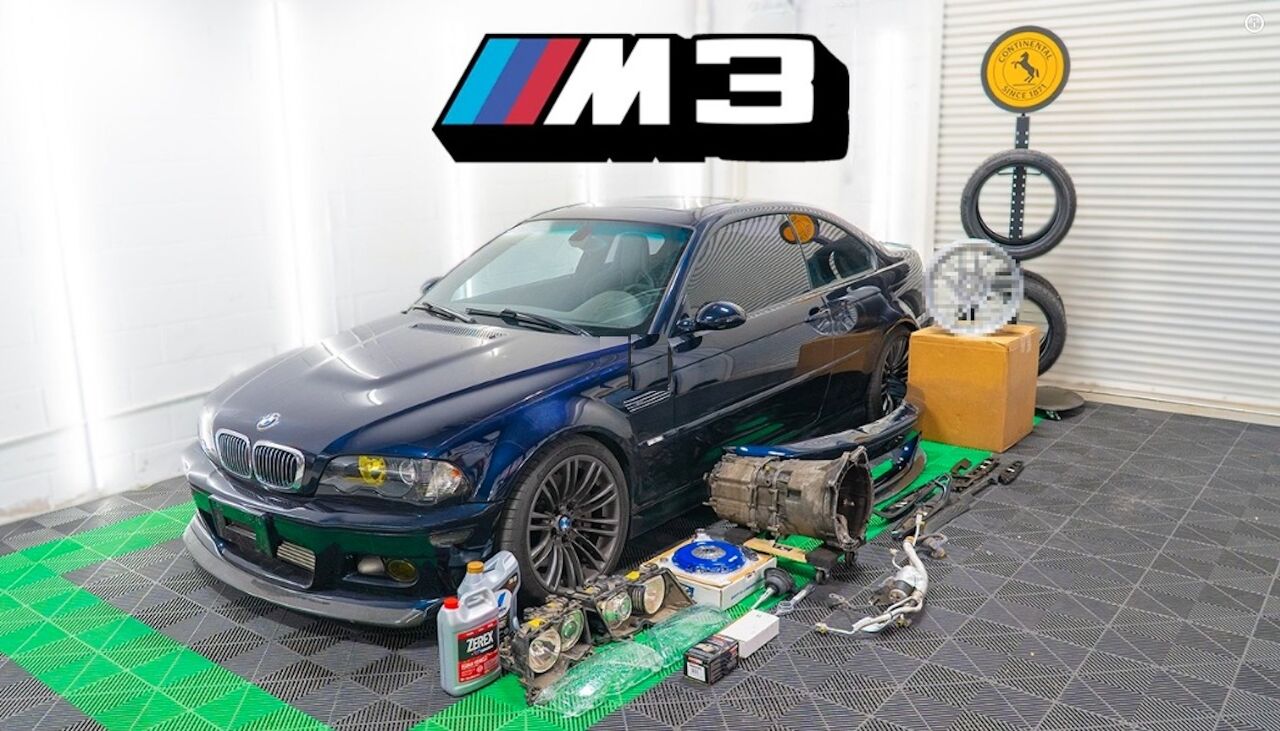
Speed Academy continues the BMW M3 build by finalizing the custom shift linkage and addressing mechanical maintenance, including brake hardware, turbo coolant lines, and fuel injector upgrades. The team also navigates complex custom AC line fabrication and explores front-end aesthetic updates with a new CSL bumper and lighting configurations.
Speed Academy is a website and YouTube channel based on making things go fast and enjoying cars. Peter Tarach and Dave Pratte are the forces behind Speed Academy.
The TTAC Creators Series tells stories and amplifies creators from all corners of the car world, including culture, dealerships, collections, modified builds and more.
An AI-produced summary of the transcript, edited by a staffer, is below.
[Image: Speed Academy/YouTube Thumbnail]
Become a TTAC insider. Get the latest news, features, TTAC takes, and everything else that gets to the truth about cars first by subscribing to our newsletter.
Summary
This episode documents continued work on a modified BMW E46 M3 project car powered by a Toyota 2JZ engine. The focus is on completing the shifter linkage, quieting the brakes for street use, fabricating custom air-conditioning lines, repairing heat-damaged turbo plumbing, replacing fuel injectors to address a drivability issue, and test-fitting a CSL-style front bumper.
1. Completing the shifter linkage and modifying the brakes
The host begins by showing the completed shifter linkage, which uses a different double-shear shift rod that he welded together. The linkage is finished, although he plans to replace the current shift knob with one featuring the BMW M logo.
Next, he addresses the car's two-piece StopTech brake rotors using new hardware supplied by Mountain Pass Performance. The original floating rotor setup allows movement between the rotor ring and its mounting hat to accommodate thermal expansion and help prevent brake knockback. However, this design can produce rattling noises on a streetcar.
The host installs replacement conical washers and associated hardware to convert the rotors to a non-floating configuration. The new arrangement eliminates movement between the rotor ring and hat, with the goal of reducing noise.
He also replaces the noisy, dusty racing brake pads with StopTech sport pads that had been purchased during the original brake conversion. Because StopTech has gone out of business, he acknowledges that sourcing replacement pads could eventually become difficult, although other manufacturers may offer compatible alternatives.
2. Headlight compatibility problems
The host discovers that the E46 headlights he purchased are not compatible with his M3 as expected. He had assumed the headlights were interchangeable, but there are several differences between the units.
- Non-M3 headlights have the ballast mounted directly on the housing, while the M3 uses a remotely mounted ballast.
- The projector assemblies differ in their construction.
- The high-beam housings also differ between the earlier and later headlight designs.
Although he initially hoped to refurbish the replacement headlights without opening them, the incompatibilities make the process considerably more complicated. He considers transferring components from his original headlights but ultimately concludes that he needs to purchase a proper matching set of M3 headlights.
3. Fabricating custom air-conditioning lines
One of the major projects involves adapting the BMW's air-conditioning system to the Toyota 2JZ engine.
Because the BMW's original air-conditioning compressor was located on the passenger side while the 2JZ compressor is on the driver's side, the factory lines cannot simply be reused as they are. The host must create custom plumbing that accommodates the new compressor location and the different hose diameters.
He measures the original lines, removes existing crimped fittings, and discovers that some of the hose diameters differ internally even when the fittings initially appear compatible.
After visiting a hydraulic supply store, he obtains the necessary transition fittings to connect the BMW lines to the 2JZ compressor. He then fabricates the custom lines, crimps the fittings, and routes the assembly beneath the engine area.
The result is a relatively straightforward solution that avoids routing the lines all the way around the front of the engine bay. He plans to add heat sleeve where necessary to protect the lines from the nearby exhaust and turbo components.
The remaining electrical work involves adapting a connector for the three-wire compressor and using the car's Link engine control unit to integrate the air-conditioning system.
4. Repairing turbo coolant lines and exhaust hardware
While working on the air-conditioning plumbing, the host discovers a separate problem with the turbocharger's coolant lines. The existing rubber hose has become brittle and cracked because of excessive heat exposure near the turbo and exhaust manifold.
He also finds that several bolts securing the turbo's turbine housing have loosened. One bolt has backed out significantly, potentially explaining a sputtering noise he had previously noticed. Removing the coolant lines provides better access to the hardware, allowing him to tighten the loose bolts.
To prevent a recurrence of the coolant-line failure, he installs a replacement line featuring a tighter forged fitting from Vibrant and braided hose that offers improved heat resistance. He also wraps the line in protective heat sleeve.
The repair highlights how heat management and routine inspection are important on a turbocharged engine, particularly when plumbing and hoses run close to the exhaust system.
5. Cleaning up the vacuum lines
The host also tidies the engine bay's vacuum plumbing, replacing the untidy arrangement with shorter, more direct lines running to the boost controller.
During the process, he notices that some of the older vacuum hoses are beginning to deteriorate, even though they have not yet split. He recommends inspecting and replacing vacuum lines approximately every five years on a turbocharged setup, depending on their condition.
Degraded vacuum lines can lead to vacuum leaks and potentially contribute to overboost problems. Replacing them proactively can prevent more serious troubleshooting later.
6. Replacing the fuel injectors to address a drivability issue
The next major mechanical task is addressing a persistent flat spot in the engine's RPM range. At light throttle between approximately 1,000 and 2,000 rpm, the engine bogs down. The previous tuner attempted to correct the issue through tuning but was unable to eliminate it, suggesting that different injectors might help.
The host decides to replace the existing 1,200-cc injectors with a set of Injector Dynamics ID1050-X injectors.
The installation presents several challenges:
- He must lift the fuel rail without removing the upper intake manifold.
- The new injectors have different dimensions from the existing units.
- The injector electrical connectors are incompatible with the existing harness.
Fortunately, he finds the appropriate Radium Engineering fuel-rail mounting stands for the shorter injectors. He then uses specialized tools to remove the existing electrical connector terminals and install compatible connectors while preserving as much of the original wiring as possible.
The injector swap is completed, but the work is not fully finished until he updates the injector scaling in the Link ECU to reflect the new 1,050 cc injectors. A dyno session is planned for a future episode to evaluate the results and determine whether the drivability problem has improved.
7. Installing a CSL-style front bumper
The final major project is test-fitting an aftermarket BMW M3 CSL-style front bumper.
To accommodate the bumper, the host replaces the car's Kevlar front reinforcement bar with the aluminum reinforcement bar used on earlier-generation M3s. The change is necessary because the aftermarket bumper was designed to fit that style of reinforcement.
The bumper fits well, which is encouraging because properly fitting CSL-style bumpers can be difficult to find. The original BMW M3 CSL was a lightweight, special version of the E46 M3, and its distinctive bumper is among the components that enthusiasts seek out.
The host's bumper was purchased used and requires additional bodywork. Its front lip was damaged when the bumper arrived and is being repaired by a body-shop contact. The necessary grilles are already available, and the lip will be installed in a later episode.
He temporarily reinstalls the existing headlights to preview the appearance of the new front end. He is pleased with the overall look, particularly because his Apex R8 wheels complement the CSL-inspired styling.
However, the headlight incompatibility remains unresolved, and he reiterates that he ultimately wants to return the car to an original-equipment-style appearance.
8. What's next?
The episode concludes with several projects completed or nearing completion:
- The shifter linkage is finished.
- The brake rotors have been converted to a quieter, non-floating setup, and sport pads have been installed.
- Custom air-conditioning lines have been fabricated and routed.
- The turbo coolant lines have been upgraded for better heat resistance.
- The turbo housing bolts have been checked and tightened.
- The vacuum lines have been cleaned up and rerouted.
- The ID1050-X fuel injectors have been installed, pending ECU recalibration and testing.
- The CSL-style front bumper has been test-fitted.
The next episode is expected to feature a dyno session to evaluate the engine after the injector change, along with additional interior work and continued progress toward completing the car.
Overall takeaway: This installment is about refining a heavily modified E46 M3 rather than adding outright performance upgrades. The host is working through the practical complications of combining BMW chassis components with a Toyota 2JZ engine, emphasizing reliable plumbing, heat management, drivability, reduced brake noise, and a cleaner CSL-inspired exterior.